How to Blow Out Your Own Sprinklers: A Step-By-Step Guide for Homeowners
Sprinkler blowout service
If you live in Colorado—or really anywhere with freezing winters—you’ve probably heard neighbors or a landscaping contractor mention “blowing out” sprinklers. At first, it may sound like a big, complicated job that only a landscaping company near me could handle. But the truth is, with the right tools and a little patience, many homeowners can do this themselves.
Blowing out sprinklers is one of the most important fall tasks for protecting your yard and irrigation system. When water freezes inside your sprinkler pipes, it expands. That expansion can cause pipes to crack, sprinkler heads to pop, and valves to break. Repairs in the spring often cost hundreds or even thousands of dollars.
By blowing out your sprinklers with compressed air before winter sets in, you can avoid those costly repairs. In this guide, we’ll explain why sprinkler blowouts matter, what tools you need, and a clear step-by-step process to follow.
Why Blowing Out Your Sprinklers Matters
Let’s start with the basics: Why should you take the time to do this?
Frozen pipes cause damage. Even a small amount of water left in the lines can freeze, expand, and split the pipe.
Repairs are costly. A broken backflow preventer or main line could cost as much as $500–$1,500 to repair.
DIY saves money. Hiring a landscaping contractor or irrigation company costs $60–$100 per blowout. Doing it yourself each fall means big long-term savings.
Peace of mind. Instead of discovering leaks or soggy spots in April, your system will be ready to go when spring arrives.
What You’ll Need to Blow Out Your Sprinklers
The job may sound complicated, but you don’t need many tools. Here’s a list of materials that most homeowners can handle:
1. Air Compressor
This is the most important tool. The compressor pushes air through your sprinkler system and forces out leftover water. I have a friend who finally bought his own air compressor after borrowing one from a friend for 20 years.
CFM rating: Aim for at least 10 cubic feet per minute (CFM) at 80 pounds per square inch (PSI).
Tank size: A 5–10 gallon compressor can work for small yards. Larger yards may need 20+ gallons.
Rent or buy? If you don’t own one, most home improvement stores rent compressors for around $40–$60 per day.
2. Air Hose
You’ll need a sturdy air hose that connects your compressor to your sprinkler system.
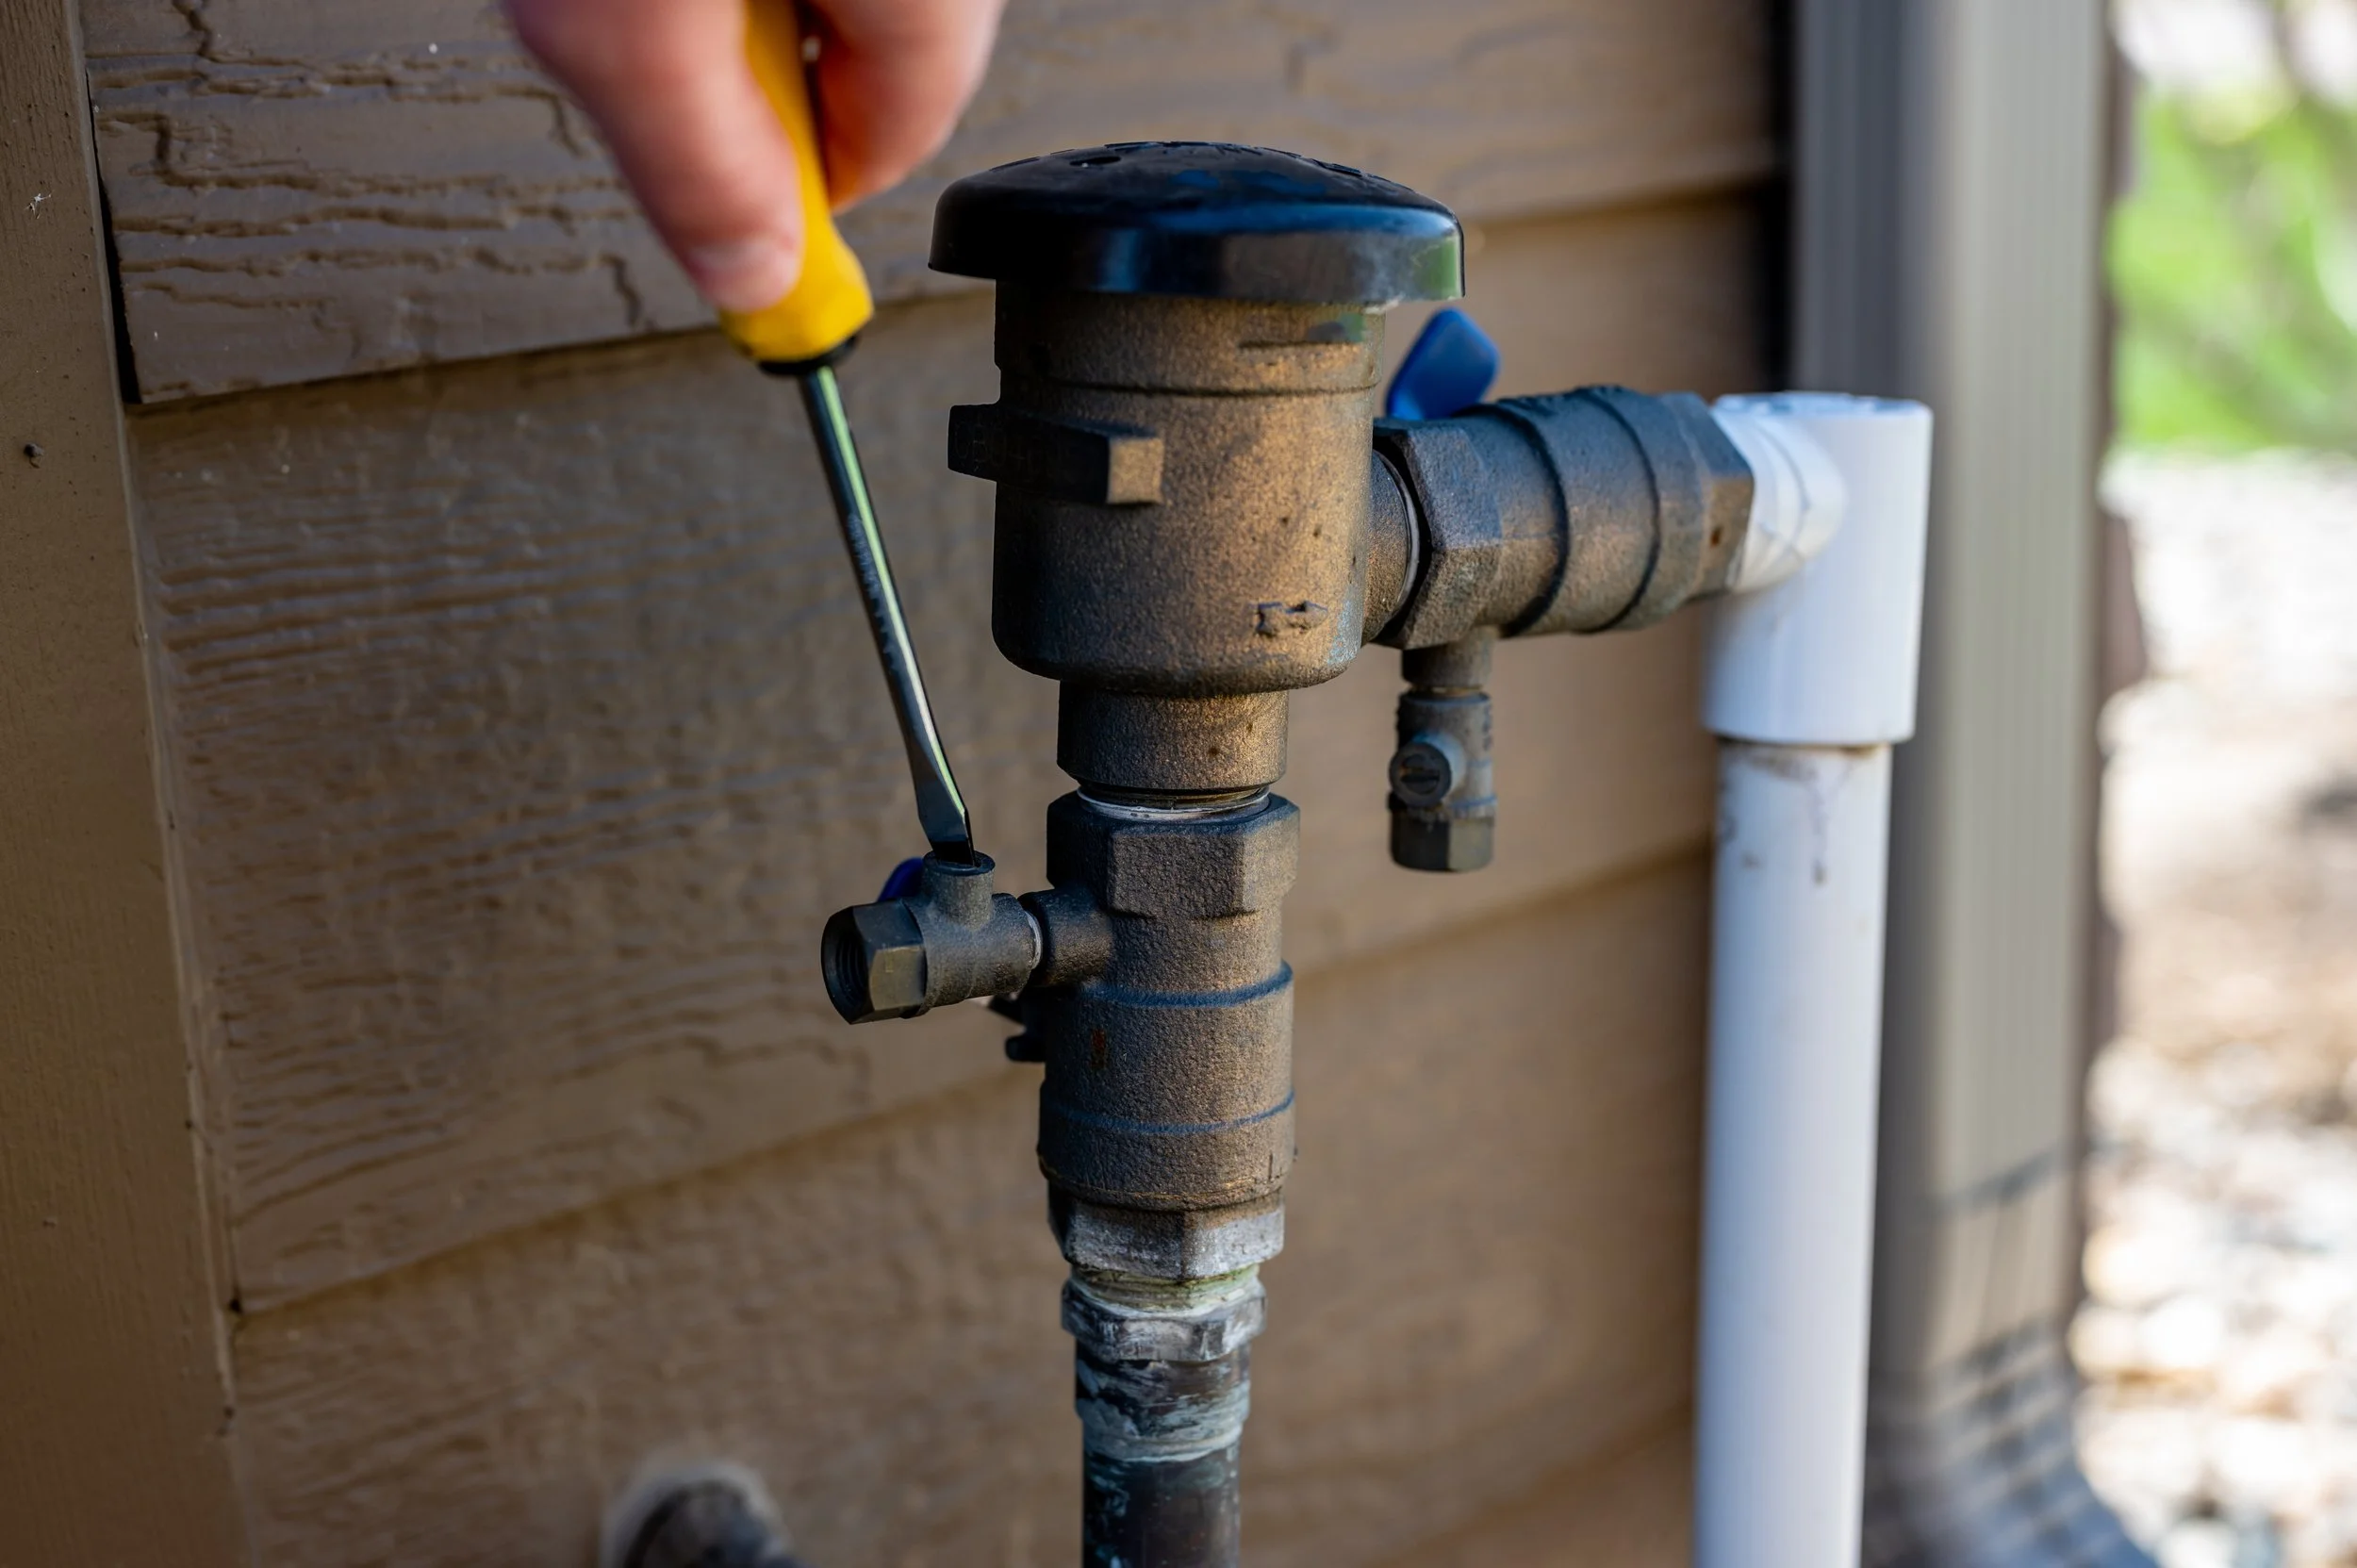
3. Quick-Connect Fittings or Adapter
Your sprinkler system should have a blowout port (sometimes it looks like a garden hose spigot). You’ll need an adapter that lets you connect your air hose to that port.
4. Safety Gear
Always protect yourself when working with compressed air.
Safety glasses (keep dirt and debris out of your eyes)
Ear protection (air compressors can be loud)
Gloves (protect hands from sharp fittings or cold metal parts)
5. Access to Your Sprinkler System
Make sure you know where your:
Main shutoff valve (turns water to the sprinklers on/off, usually in the basement)
Backflow preventer (protects drinking water from sprinkler water). Mine is in the ceiling of our basement wall.
Blowout port (connection point for air)
Step-By-Step: How to Blow Out Sprinklers Yourself
Follow these steps carefully. Take your time—rushing can damage your system.
Step 1: Shut Off the Water Supply
Find your main sprinkler shutoff valve, usually in the basement, crawl space, or utility box outside. Turn it off so no more water flows into the system.
Step 2: Relieve Pressure
Go to your backflow preventer. Open the small valves (called test cocks) or a manual drain. This removes leftover pressure from the system and makes it safer to attach your compressor.
Step 3: Connect the Air Compressor
Locate your blowout port.
Attach your quick-connect adapter.
Hook up your air hose from the compressor.
Double-check the connection is snug so air won’t leak out.
Step 4: Set the Right Pressure
This step is very important. Using too much pressure can ruin sprinkler heads or even crack pipes.
Residential sprinkler systems should never exceed 80 PSI.
If your system uses drip irrigation or smaller lines, keep pressure closer to 50 PSI.
Step 5: Blow Out Each Zone
Sprinkler systems are divided into zones. You’ll blow out one zone at a time.
Go to your sprinkler controller (the box with all the buttons).
Turn on the first zone manually.
Slowly open the valve on your air compressor. Air will rush into the pipes and force out water through the sprinkler heads.
Watch the sprinklers: water will spray out first, then mist, then just air.
Once only air comes out, turn off that zone.
Move on to the next zone and repeat.
Tip: Don’t run air in a zone for too long. Two minutes per zone is usually enough. Running dry air too long can overheat and damage the heads.
Step 6: Repeat Until All Zones Are Clear
Work through each zone until all have been cleared.
Step 7: Finish Up
Close your compressor valve.
Disconnect the hose.
Leave the test cocks on your backflow preventer open at a 45-degree angle. This allows any small leftover water to drain out during winter.
Turn off and store your sprinkler controller for the season.
Helpful Tips for First-Timers
Start early in the fall. Don’t wait until the first hard freeze. September through early October is the best time in Colorado.
Work in short bursts. Two minutes of air per zone is enough. Running longer doesn’t remove more water—it just risks damage.
Check your system design. Some systems have hidden drain valves. Make sure you don’t miss these.
Renting vs. hiring. If renting a compressor feels like too much, hiring a landscaping contractor or irrigation pro for one season may help you learn. Next year, you’ll feel more confident doing it yourself.
Common Mistakes to Avoid
Using too much pressure. This can blow sprinkler heads apart. Stay under 80 PSI.
Skipping zones. Every zone must be cleared, or leftover water could freeze.
Not wearing safety gear. Compressed air can blow dirt, rocks, or even sprinkler parts loose. Protect your eyes.
Waiting too long. A sudden cold snap can hit earlier than expected, leaving you scrambling.
Aspenwood Landscape is happy to do your sprinkler blowout for you!
While blowing out sprinklers can be DIY-friendly, there are times when calling in a pro makes sense or if you simply just read this and though “I don’t want to”.
Your system is very large or complex.
You can’t locate the main shutoff or blowout port.
You don’t feel comfortable working with compressed air.
If you search for a landscaping company near me, you’ll likely find local irrigation specialists who do this quickly and safely. A trusted landscaping contractor can also combine a blowout with other fall yard services, like trimming, mulching, or yard clean up. Spoiler alert - we do all of this too.
Blowing out sprinklers may sound intimidating, but with the right tools and a little care, it’s a job many homeowners can tackle themselves. You’ll protect your system, save money, and head into spring with confidence knowing your sprinklers are safe.
If you ever feel unsure, don’t hesitate to reach out to a landscaping contractor or search for a landscaping company near me to find local help. But if you’re ready to try it yourself, grab an air compressor, follow the steps above, and you’ll be on your way to a worry-free winter.